
Instructions to create the animated Wardman Residential at Compass transaction map. These are general guidelines to assist with the process but steps or details may be missing based on your understanding of some of the systems or programs.
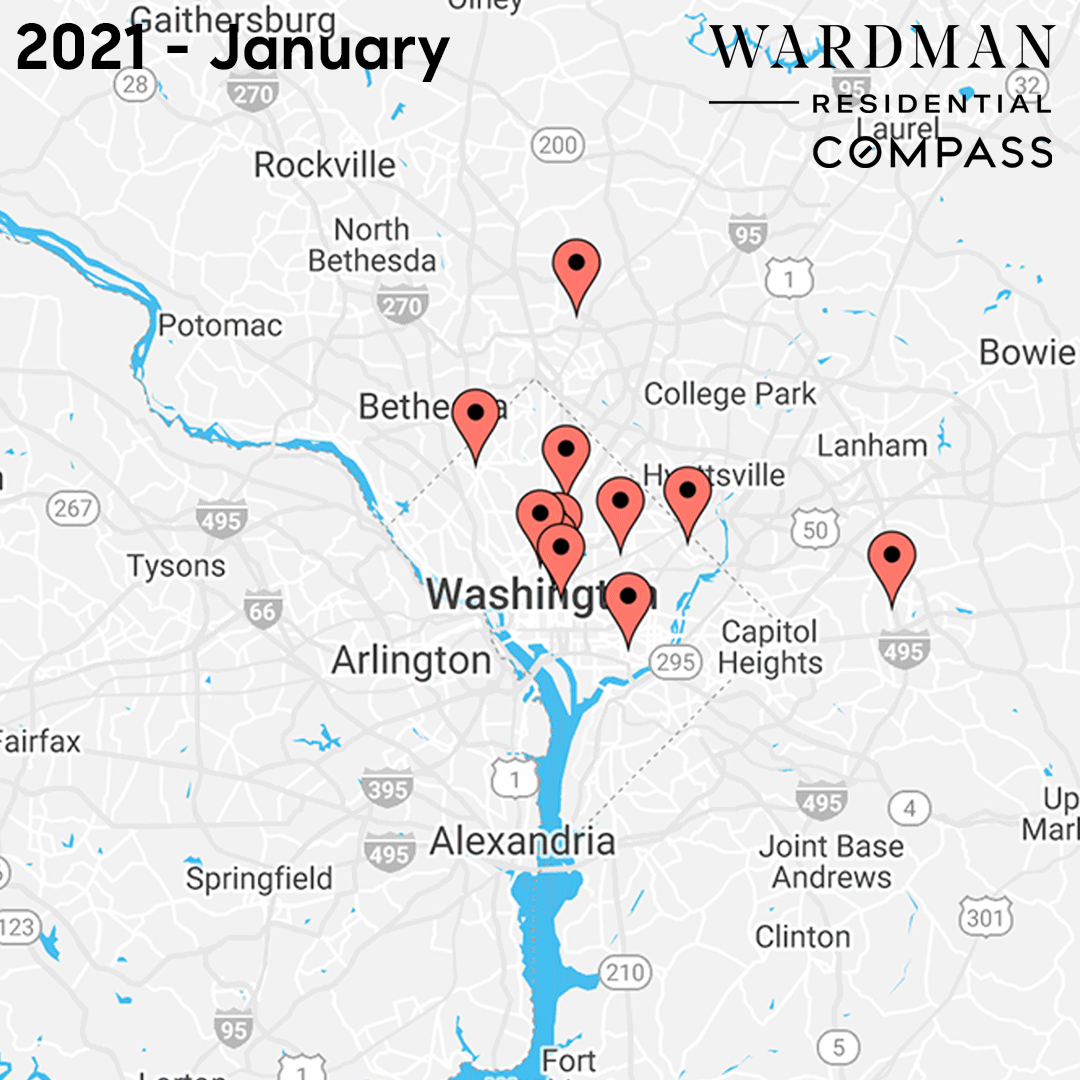
Mapping transactions: In Excel, enter all of your transactions, one property per row with correct street address, city, state, zip code and settlement date. For Wardman, this is a single download of transactions from SISU as each transaction is correctly entered. Note, depending on demand, Wardman may have the capacity to complete the remaining steps for agents/teams at a reasonable charge. To inquire about this service, email Evan@WardmanRE.com.
With EasyMapMaker.com, we are using the paid version, copy the Excel spreadsheet January transactions to EasyMapMaker.com to place the markers on the map. You can use advanced features to customize the look, colors and map look. Save the map. Zoom map as appropriate for your market and export the image of the map. Continue to do this for Jan-Feb, Jan-March, Jan-April… Do this for the twelve months of transactions. Basically, you are adding the new month’s transactions as each image advances through the year.
In Adobe Photoshop, we use the entire Adobe Suite but different versions range from $20-$70 monthly. Advanced Adobe Suite understanding is helpful. Open the January image in Photoshop and add the other 11 images to this one as layers. Add 12 text layers each with monthly labels. Arrange layers in order of month.
On our version, we also added some additional animation with our logos, white background, message and such. This is fully optional depending on the look or message you desire. If you are looking to have your logos move or zoom, turn your logo layers to Smart Objects and use Keyframes and Transform to define the transition times.
Photoshop, view the Timeline window open. (Window > Timeline) Click Create Video Timeline. Start with January image and text layers and adjust the start time and end time. For instance, if you want a 6 second image, each month will play for 15 frames then turn off, then the next month will play for 15 frames then turn off. Change the frame times to speed up or slow down the GIF.
Photoshop, File>Export>Save For Web (Legacy). You can adjust the size and such there but changing the aspect ratio will stretch the image. There are lots of adjustments that can be made during the process to size/fit for your specific use. We used a common 1080x1080 size for compatibility to social media. With the export, it will be saved as a .gif
Important, for email and web pages, .gif is the usual file to use. For Instagram, Facebook and other social media platforms, mp4 will need to be used to play the video and loop it.
To change the gif to mp4, we used Giphy.com. Upload > Share > change to MP4 > copy link > open link in browser (Chrome) > right click animated image > make sure “loop” is checked > Save Video As.
As we all know, there is always changing technology, systems and knowledge. This is the way we created the look but there may be many other ways to do it.
If you see a correction needed to these instructions or have thoughts on this marketing piece, email Evan@WardmanRE.com

